Long exposure photography is a captivating technique that allows photographers to capture stunning images by extending the duration of their camera’s exposure time. Whether it’s capturing the graceful motion of flowing water, the mesmerizing trails of stars in the night sky, or the ethereal blur of city lights, long exposure photography offers endless creative possibilities. In this comprehensive guide, we’ll delve into the fundamentals of long exposure photography, explore the equipment and techniques needed to master this art form, and offer tips for creating breathtaking long exposure images.
Understanding Long Exposure Photography: Long exposure photography involves using a slower shutter speed to capture a scene over an extended period. By allowing more time for light to reach the camera sensor, long exposures can produce unique effects such as motion blur, light trails, and smooth water surfaces. This technique is commonly used in various genres of photography, including landscape, astrophotography, urban, and even portrait photography.
To embark on your long exposure photography journey, you’ll need a few essential pieces of equipment:
1. CAMERA
Any digital camera with manual exposure controls can be used for long exposure photography. DSLRs and mirrorless cameras are popular choices due to their versatility and ability to capture high-quality images.

2. Tripod
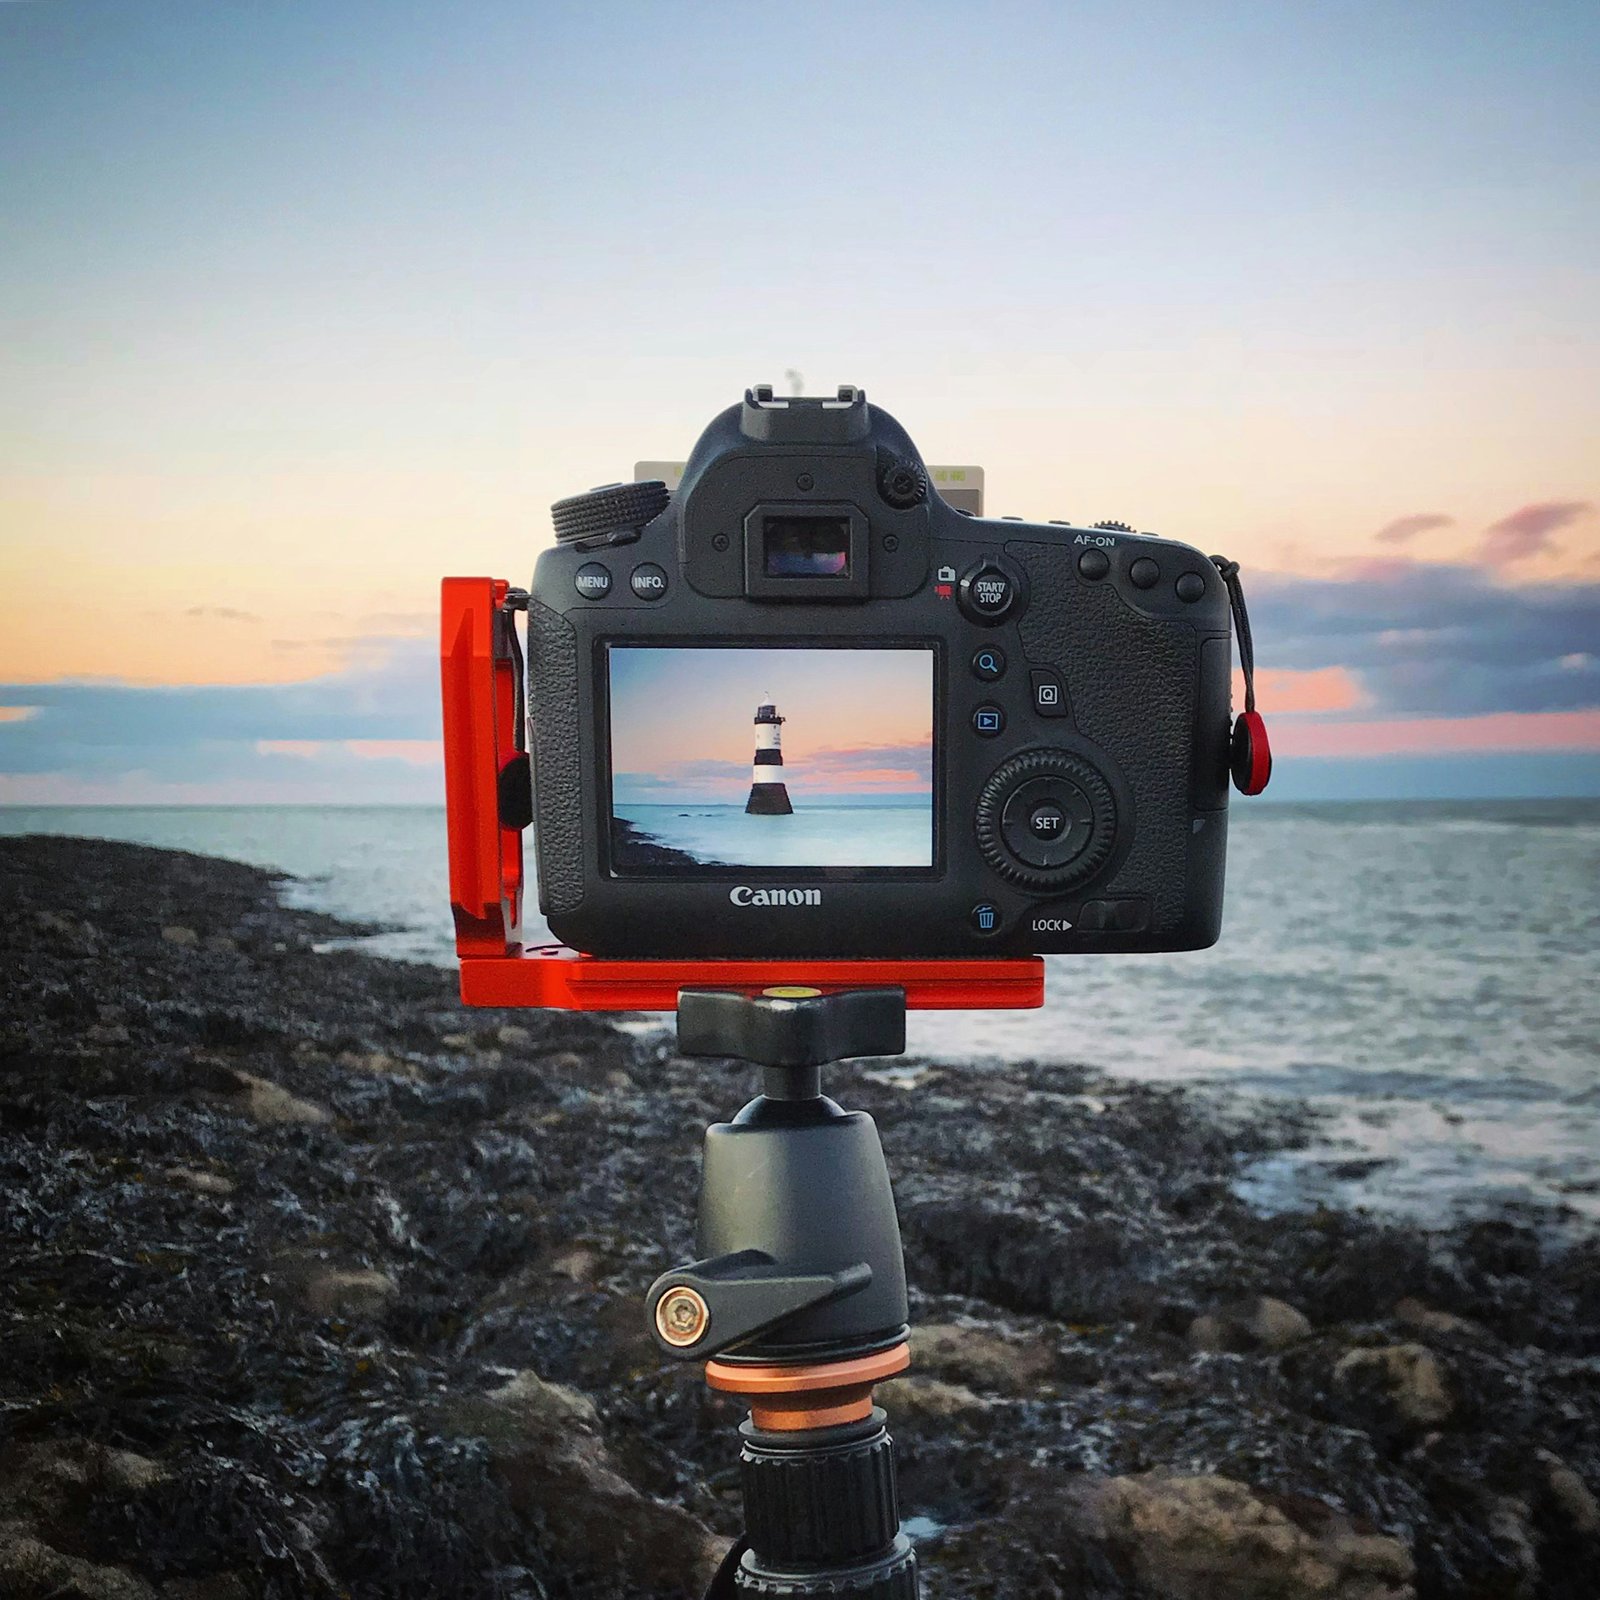
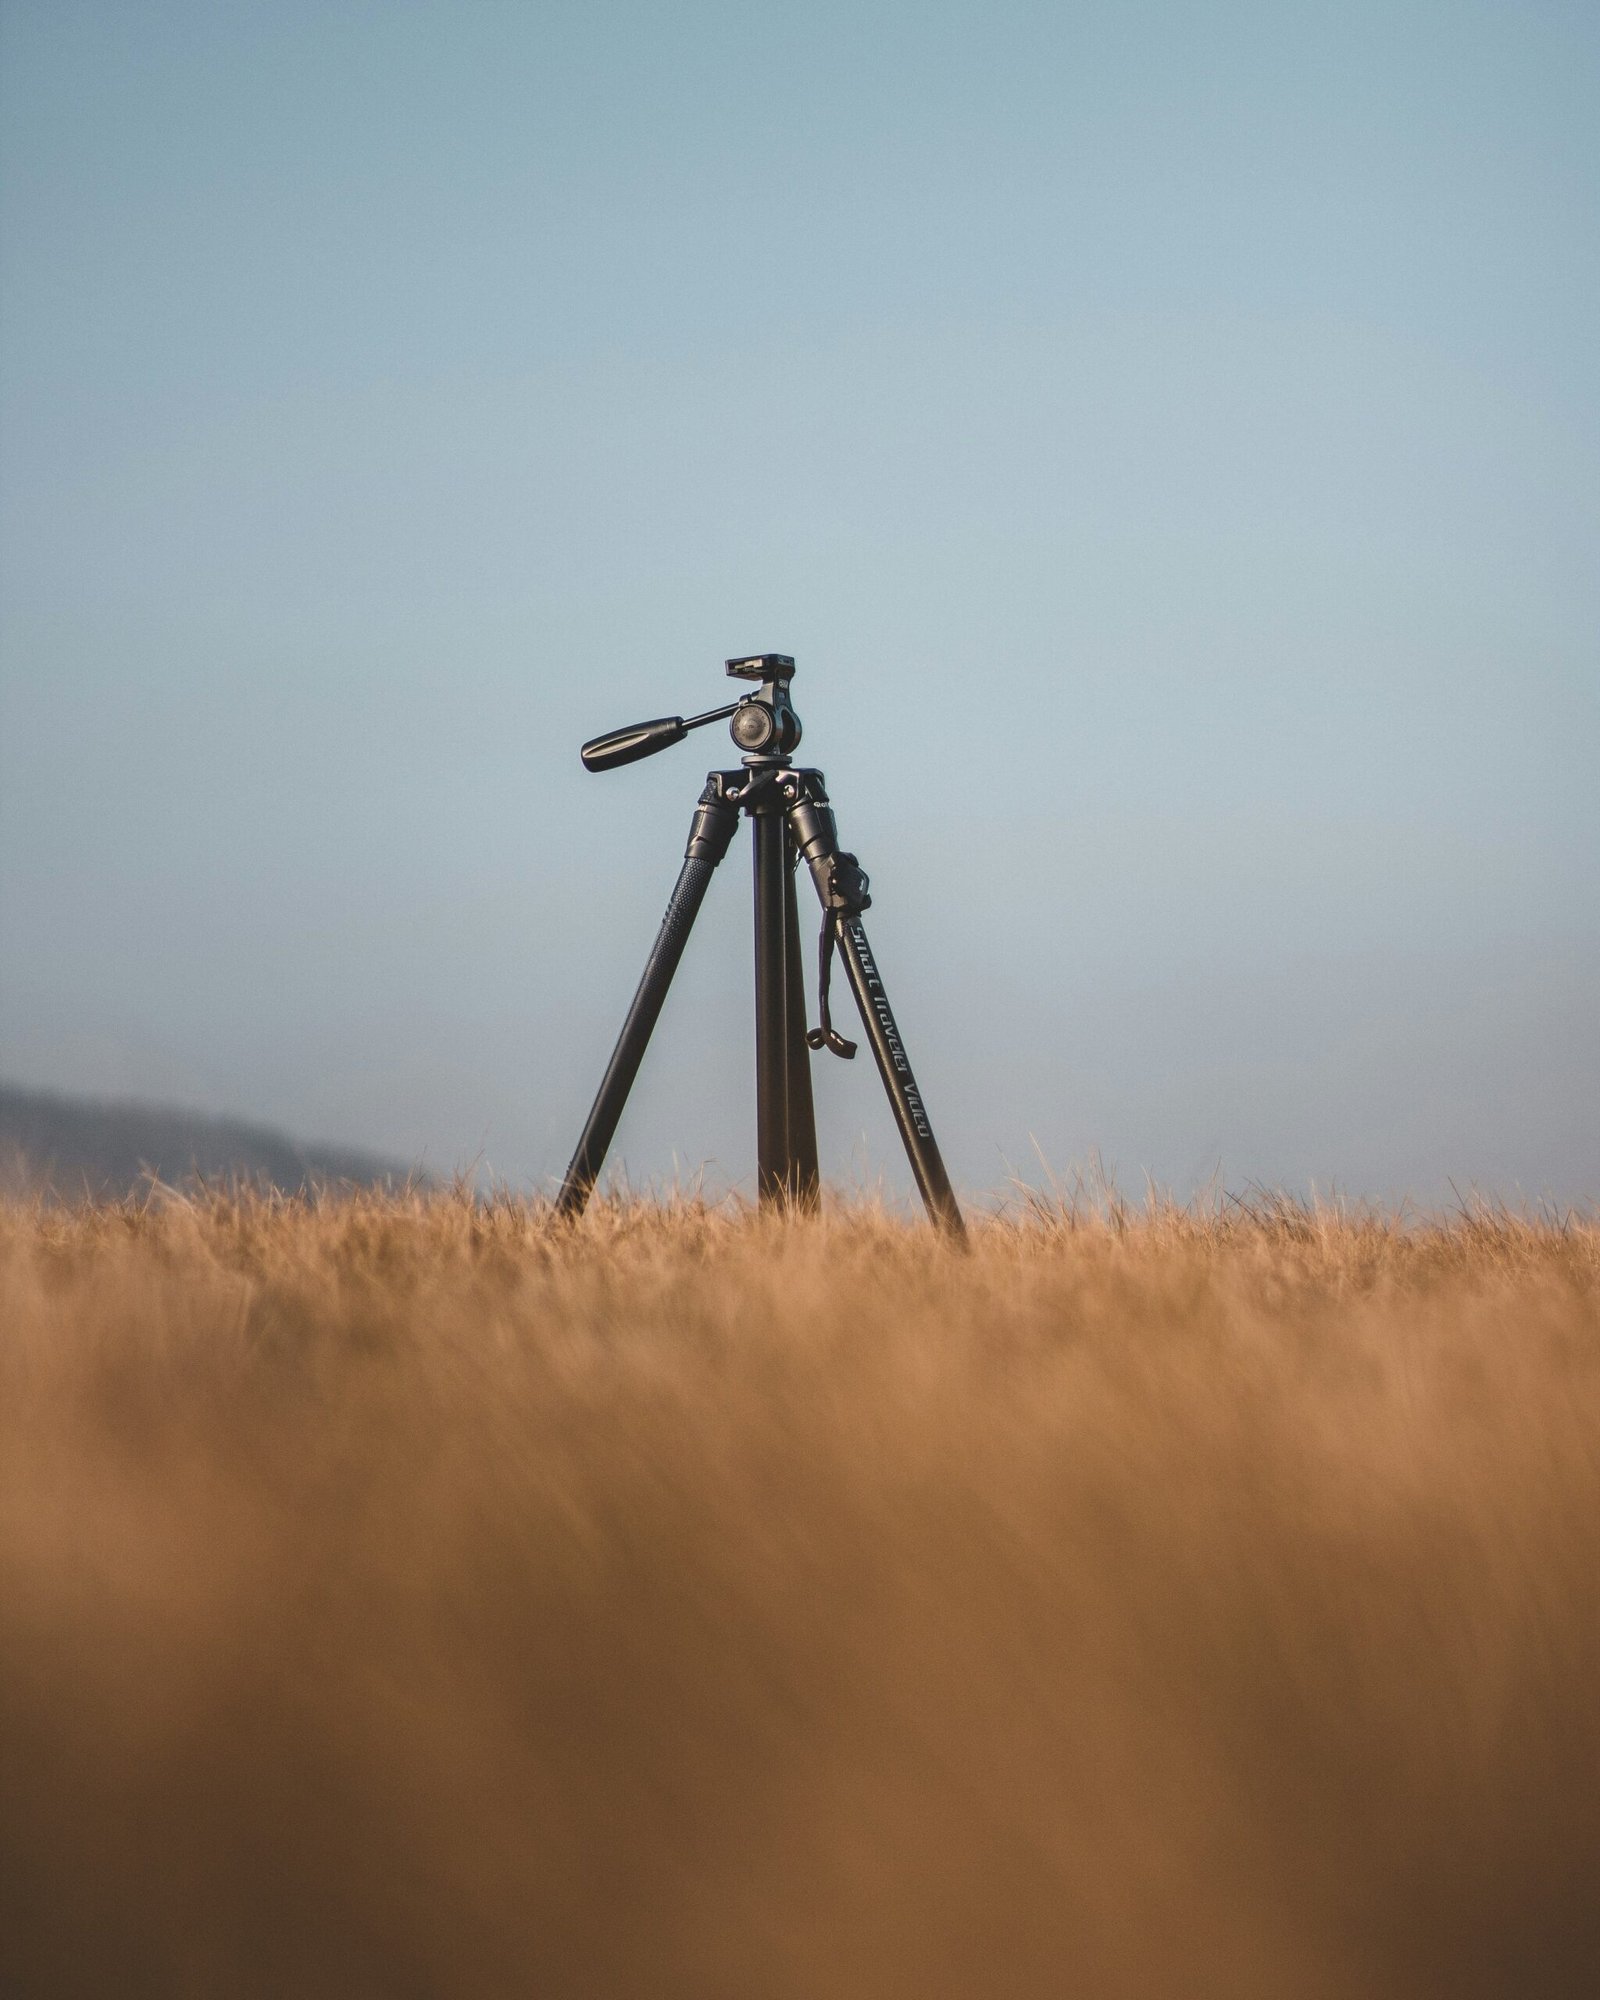
To minimize camera shake during long exposures, consider using a tripod. A stable base ensures sharp images even with slower shutter speeds. Additionally, using a remote shutter release or the camera’s self-timer can further reduce any potential movement caused by pressing the shutter button.

3. Remote Shutter Release
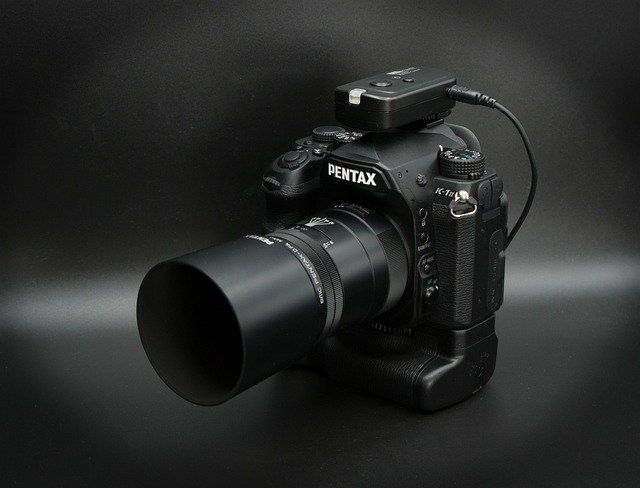
A remote shutter release or cable release allows you to trigger the camera’s shutter without touching it, further minimizing the risk of camera shake.

4. Neutral Density Filters
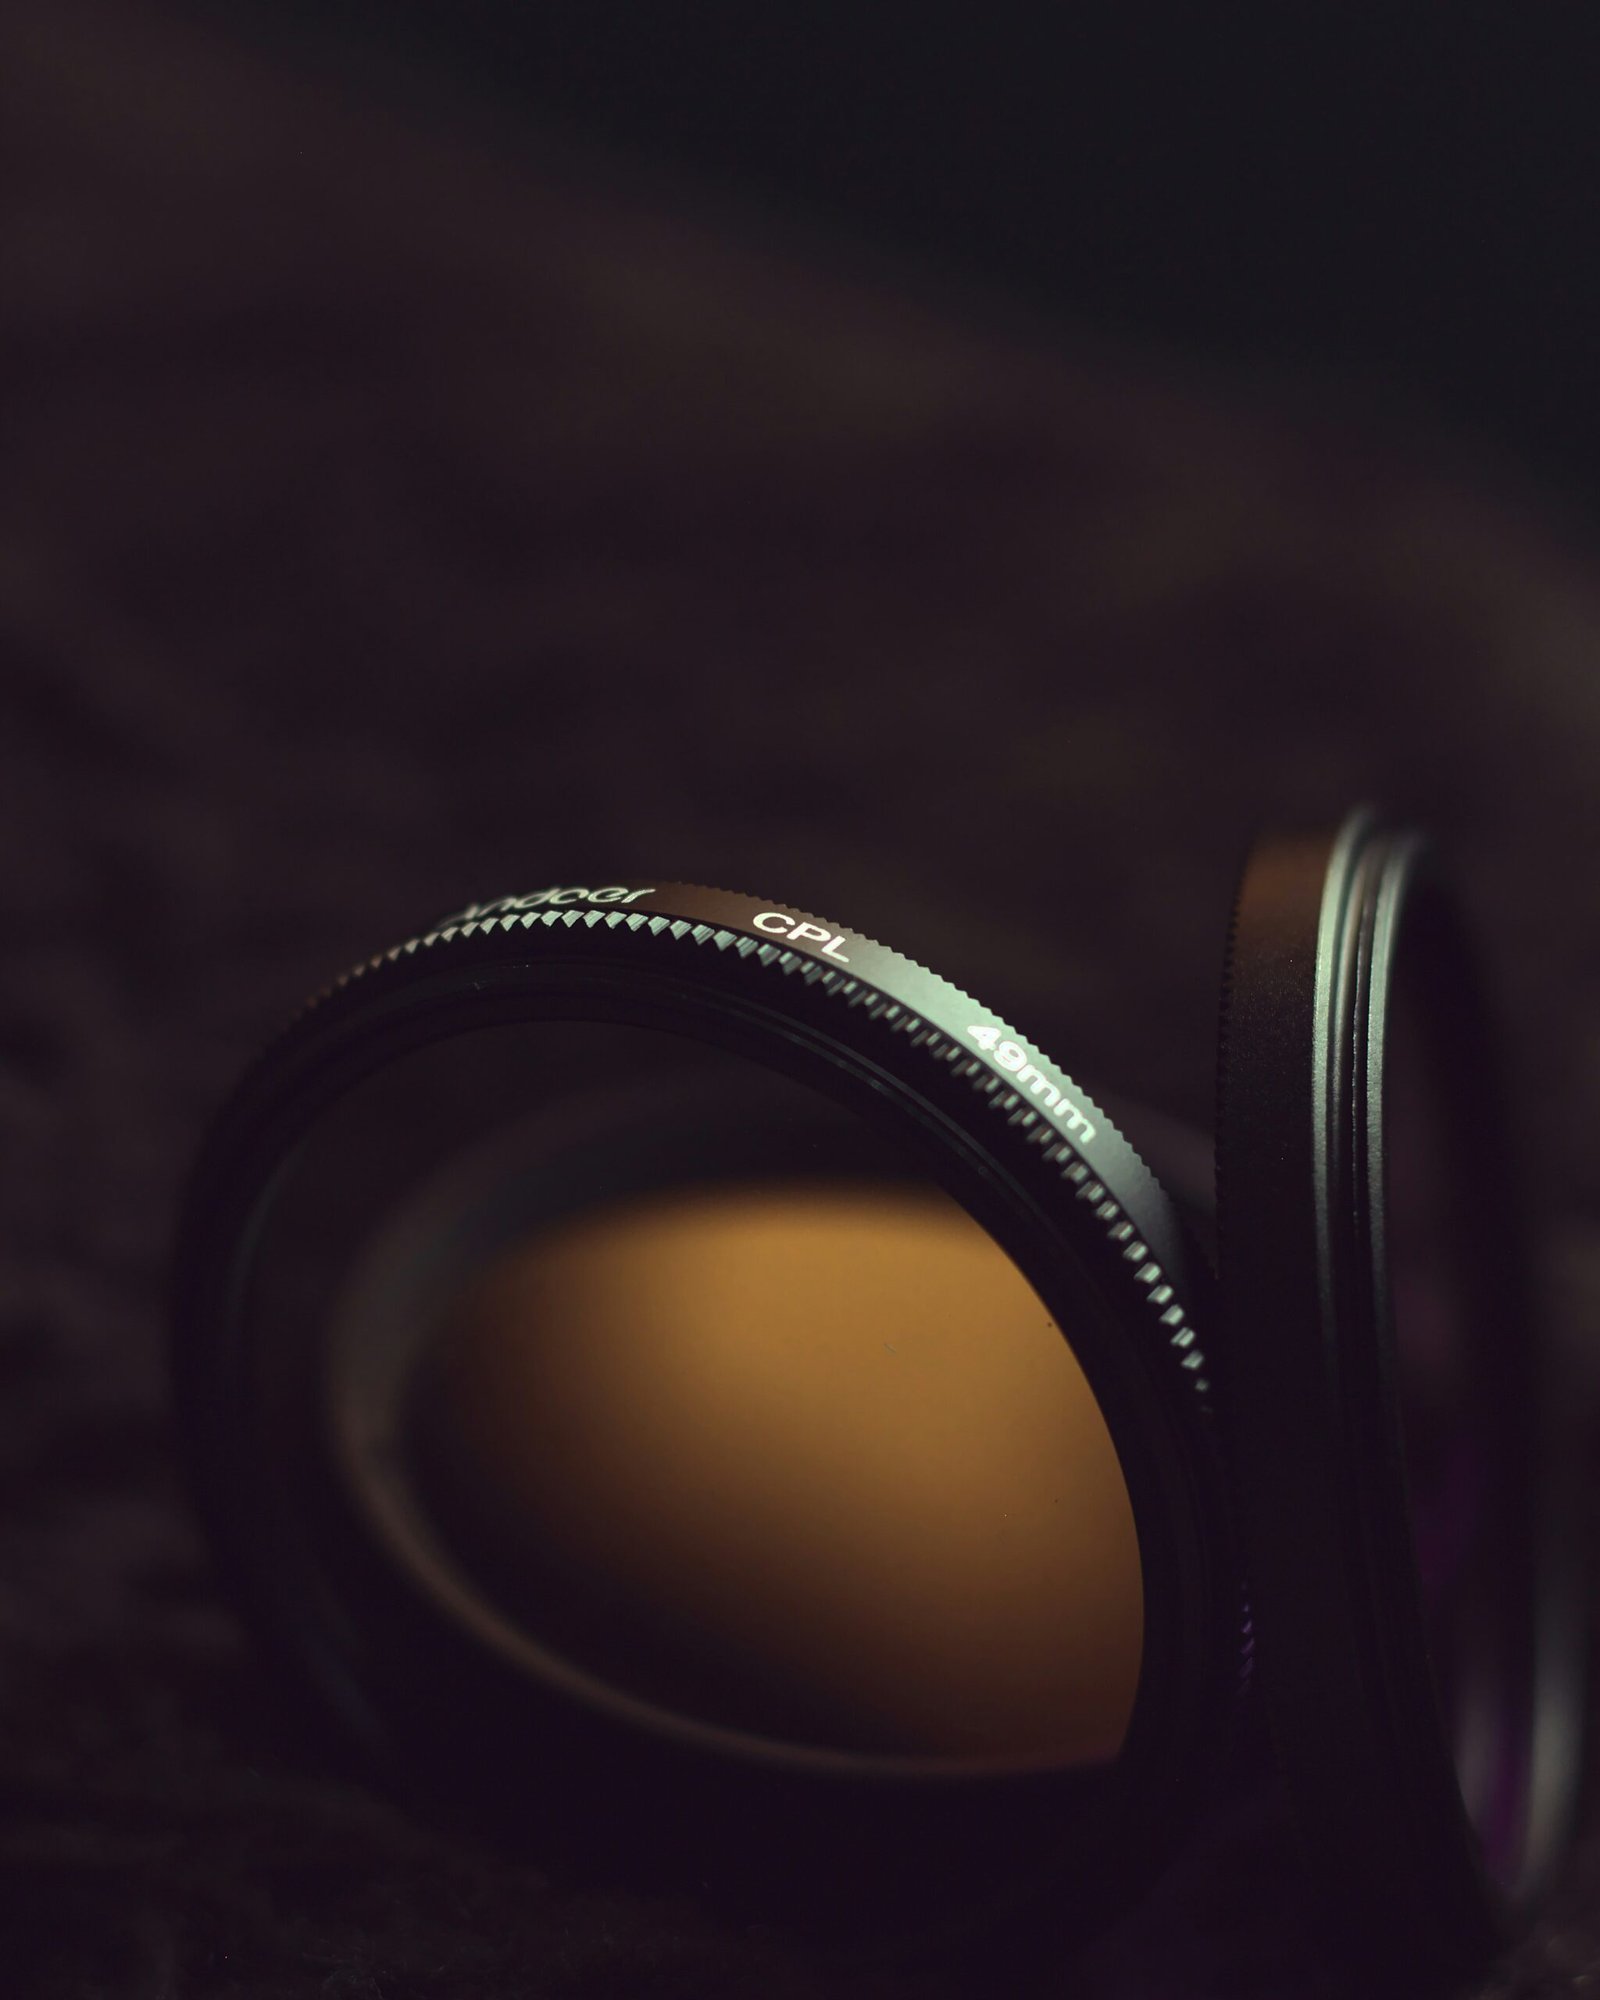
ND filters are invaluable tools for long exposure photography, as they reduce the amount of light entering the camera, allowing for longer exposure times even in bright conditions.

Techniques for Long Exposure Photography:
Achieving compelling long exposure images requires a combination of technical skill and creative vision. Here are some techniques to consider:
1. Choosing the Right Shutter Speed
Long-exposure photography involves using shutter speeds longer than usual to capture motion over an extended period. This technique is commonly employed in various genres such as landscape, astrophotography, light trails, and waterfalls to create stunning visual effects.
- Shutter Speed: Experiment with different shutter speeds to achieve the desired effect. For smooth water surfaces, try shutter speeds ranging from a few seconds to several minutes. When it comes to capturing light trails or star trails, longer exposures may be necessary. In low-light environments, the camera needs more time to gather sufficient light for a well-exposed image. Longer shutter speeds allow more light to reach the camera sensor, making them ideal for night photography. Start with longer exposures, such as several seconds or even minutes, depending on the available light and desired effect.
- Exposure Time: The duration of the shutter speed determines the amount of time light is allowed to reach the camera sensor. In long exposure photography, shutter speeds typically range from several seconds to several minutes or even hours, depending on the desired effect and lighting conditions.
- Creative Vision: Before setting your shutter speed, clarify your creative vision for the image. Consider what you want to convey – whether it’s capturing the smooth flow of water, the movement of stars across the night sky, or the streaks of light from passing vehicles. Adjust the shutter speed accordingly to achieve the desired outcome.
- Motion Blur: Long exposures inherently introduce motion blur, which can be used creatively to convey a sense of movement or fluidity in the scene. Experiment with different shutter speeds to control the amount of blur based on the speed and direction of motion in your composition. Slower shutter speeds result in more pronounced blur, while faster speeds freeze motion.
2. Composition
Composition plays a vital role in long exposure photography, just as it does in any other genre of photography. However, the extended exposure times characteristic of this style offer unique opportunities to create visually captivating images. Here are some considerations for composition in long exposure photography.
- Subject Selection: Choose a compelling subject that will remain relatively static during the long exposure. Common subjects for long exposure photography include landscapes, seascapes, cityscapes, architecture, and celestial objects such as stars or the moon. Consider how the subject will interact with motion blur and light trails to enhance the overall impact of the image.
- Foreground Interest: Incorporate elements in the foreground to add depth and context to your composition. Rocks, trees, buildings, or other objects can serve as anchor points and lead the viewer’s eye into the scene. Pay attention to their placement within the frame to create a balanced and visually engaging composition.
- Leading Lines: Utilize leading lines to guide the viewer’s gaze through the image and towards the main focal point. These lines can be natural elements like rivers, roads, or pathways, or man-made structures such as bridges or fences. Leading lines help create a sense of movement and draw attention to key areas of the photograph.
- Rule of Thirds: Apply the rule of thirds to place important elements off-center within the frame for a more dynamic composition. Divide the frame into thirds both horizontally and vertically, and position key elements at the intersection points or along the grid lines. This technique helps create balance and visual interest in the image.
- Symmetry and Reflections: Look for opportunities to incorporate symmetry and reflections into your compositions, especially when photographing bodies of water or urban environments. Symmetrical compositions can be particularly striking in long exposure photography, as they emphasize patterns and repetition, while reflections add depth and complexity to the image.
- Negative Space: Embrace negative space to create a sense of isolation or solitude within the frame. Use empty areas of the composition to highlight the subject or convey a mood or atmosphere. Negative space can enhance the overall impact of the image and draw attention to the main focal point.
3. Manual Focus
Manual focus can be particularly useful in long exposure photography, especially when shooting in low light conditions or when capturing subjects that may not have sufficient contrast for autofocus systems to latch onto. Here’s how manual focus can enhance your long exposure images:
Precision: Manual focus allows you to precisely control where the focus point lies within the frame. This is particularly important in long exposure photography, where even slight inaccuracies in focus can be magnified over the extended duration of the exposure. By manually adjusting the focus ring, you can ensure that your subject is sharp and well-defined, resulting in a crisp and clear image.
Focus Peaking: Many modern cameras feature focus peaking, a helpful tool that highlights in-focus areas of the image in real-time as you adjust the focus manually. This can be especially useful in low light situations where it may be difficult to judge focus accurately through the viewfinder or LCD screen. Focus peaking provides visual confirmation of sharp focus, allowing you to make precise adjustments with confidence.
Magnification: Some cameras offer the option to magnify the view through the viewfinder or on the LCD screen, making it easier to fine-tune focus manually, particularly when capturing intricate details or distant subjects. Magnification allows you to zoom in on specific areas of the frame to ensure critical focus, even in challenging shooting conditions.
Override Autofocus: In situations where the autofocus system may struggle to lock onto the desired subject, such as scenes with low contrast or moving elements, manual focus provides a reliable alternative. By switching to manual focus mode, you can bypass autofocus altogether and take full control of the focusing process, ensuring consistent and accurate results.
4. Bracketing Exposures
Bracketing exposures is a technique commonly used in photography to ensure optimal exposure, particularly in challenging lighting conditions or when capturing high dynamic range scenes. While it’s often associated with HDR (High Dynamic Range) photography, bracketing can also be beneficial in long exposure photography. Here’s how bracketing exposures can enhance your long exposure images:
Dynamic Range: Long exposure scenes, especially landscapes with contrasting light and shadow areas, can have a wide dynamic range. Bracketing exposures allows you to capture a series of images at different exposure levels, ensuring that you preserve detail in both the highlights and shadows. This ensures that no important details are lost in areas of extreme brightness or darkness.
Exposure Fusion: Instead of creating traditional HDR images by blending multiple exposures together, bracketed exposures in long exposure photography can be fused using exposure blending techniques. This involves selectively blending different parts of each exposure to create a final image that retains the best details and tonal range from each frame. Exposure fusion can result in more natural-looking images without the exaggerated HDR effect.
Highlight and Shadow Recovery: Bracketing exposures provides you with a safety net when it comes to recovering details from overexposed highlights or underexposed shadows in post-processing. By capturing a range of exposures, you have more flexibility to adjust exposure settings during editing, ensuring that you can recover as much detail as possible without sacrificing image quality.
Creative Control: Bracketing exposures allows you to explore different creative possibilities and experiment with exposure settings to achieve the desired mood or effect in your long exposure images. For example, you can vary the exposure to emphasize motion blur in moving subjects or to create a sense of drama by intentionally overexposing or underexposing certain elements in the scene.
HDR Processing: While bracketing exposures can be used for exposure fusion, you can also create traditional HDR images by combining multiple exposures using dedicated HDR processing software. This technique is particularly useful in situations where the dynamic range exceeds the capabilities of the camera sensor, allowing you to capture a wider range of tones and details in the final image.
Bracketing Settings: When bracketing exposures for long exposure photography, it’s essential to consider the number of exposures, exposure increments, and sequence order. Typically, bracketing involves capturing three to five exposures at intervals of one to two stops apart. Experiment with different bracketing settings to find the optimal balance between capturing detail and minimizing the risk of overexposure or underexposure.
Long exposure photography is a versatile and rewarding technique that allows photographers to unleash their creativity and capture mesmerizing images. By mastering the fundamentals of exposure, investing in the right equipment, and experimenting with different techniques, you can unlock the full potential of long exposure photography and create stunning images that leave a lasting impression. So grab your camera, tripod, and ND filters, and embark on an unforgettable journey into the world of long exposure photography.
