When it comes to capturing stunning night photography, having the right camera settings is crucial for achieving remarkable results. The darkness of the night sky and the unique lighting conditions it offers demand specific adjustments to ensure that your images turn out sharp, well-exposed, and full of captivating detail. Understanding the interplay between aperture, shutter speed, and ISO sensitivity becomes even more critical as you navigate through the intricacies of nocturnal photography. Moreover, factors such as the moon’s phase, light pollution, and even atmospheric conditions can significantly influence your camera settings and the overall outcome of your night shots. Therefore, in this comprehensive guide, we will delve deep into the essential camera settings you should consider when venturing into the realm of night photography, equipping you with the knowledge and expertise needed to master this captivating art form.
1. Shutter Speed
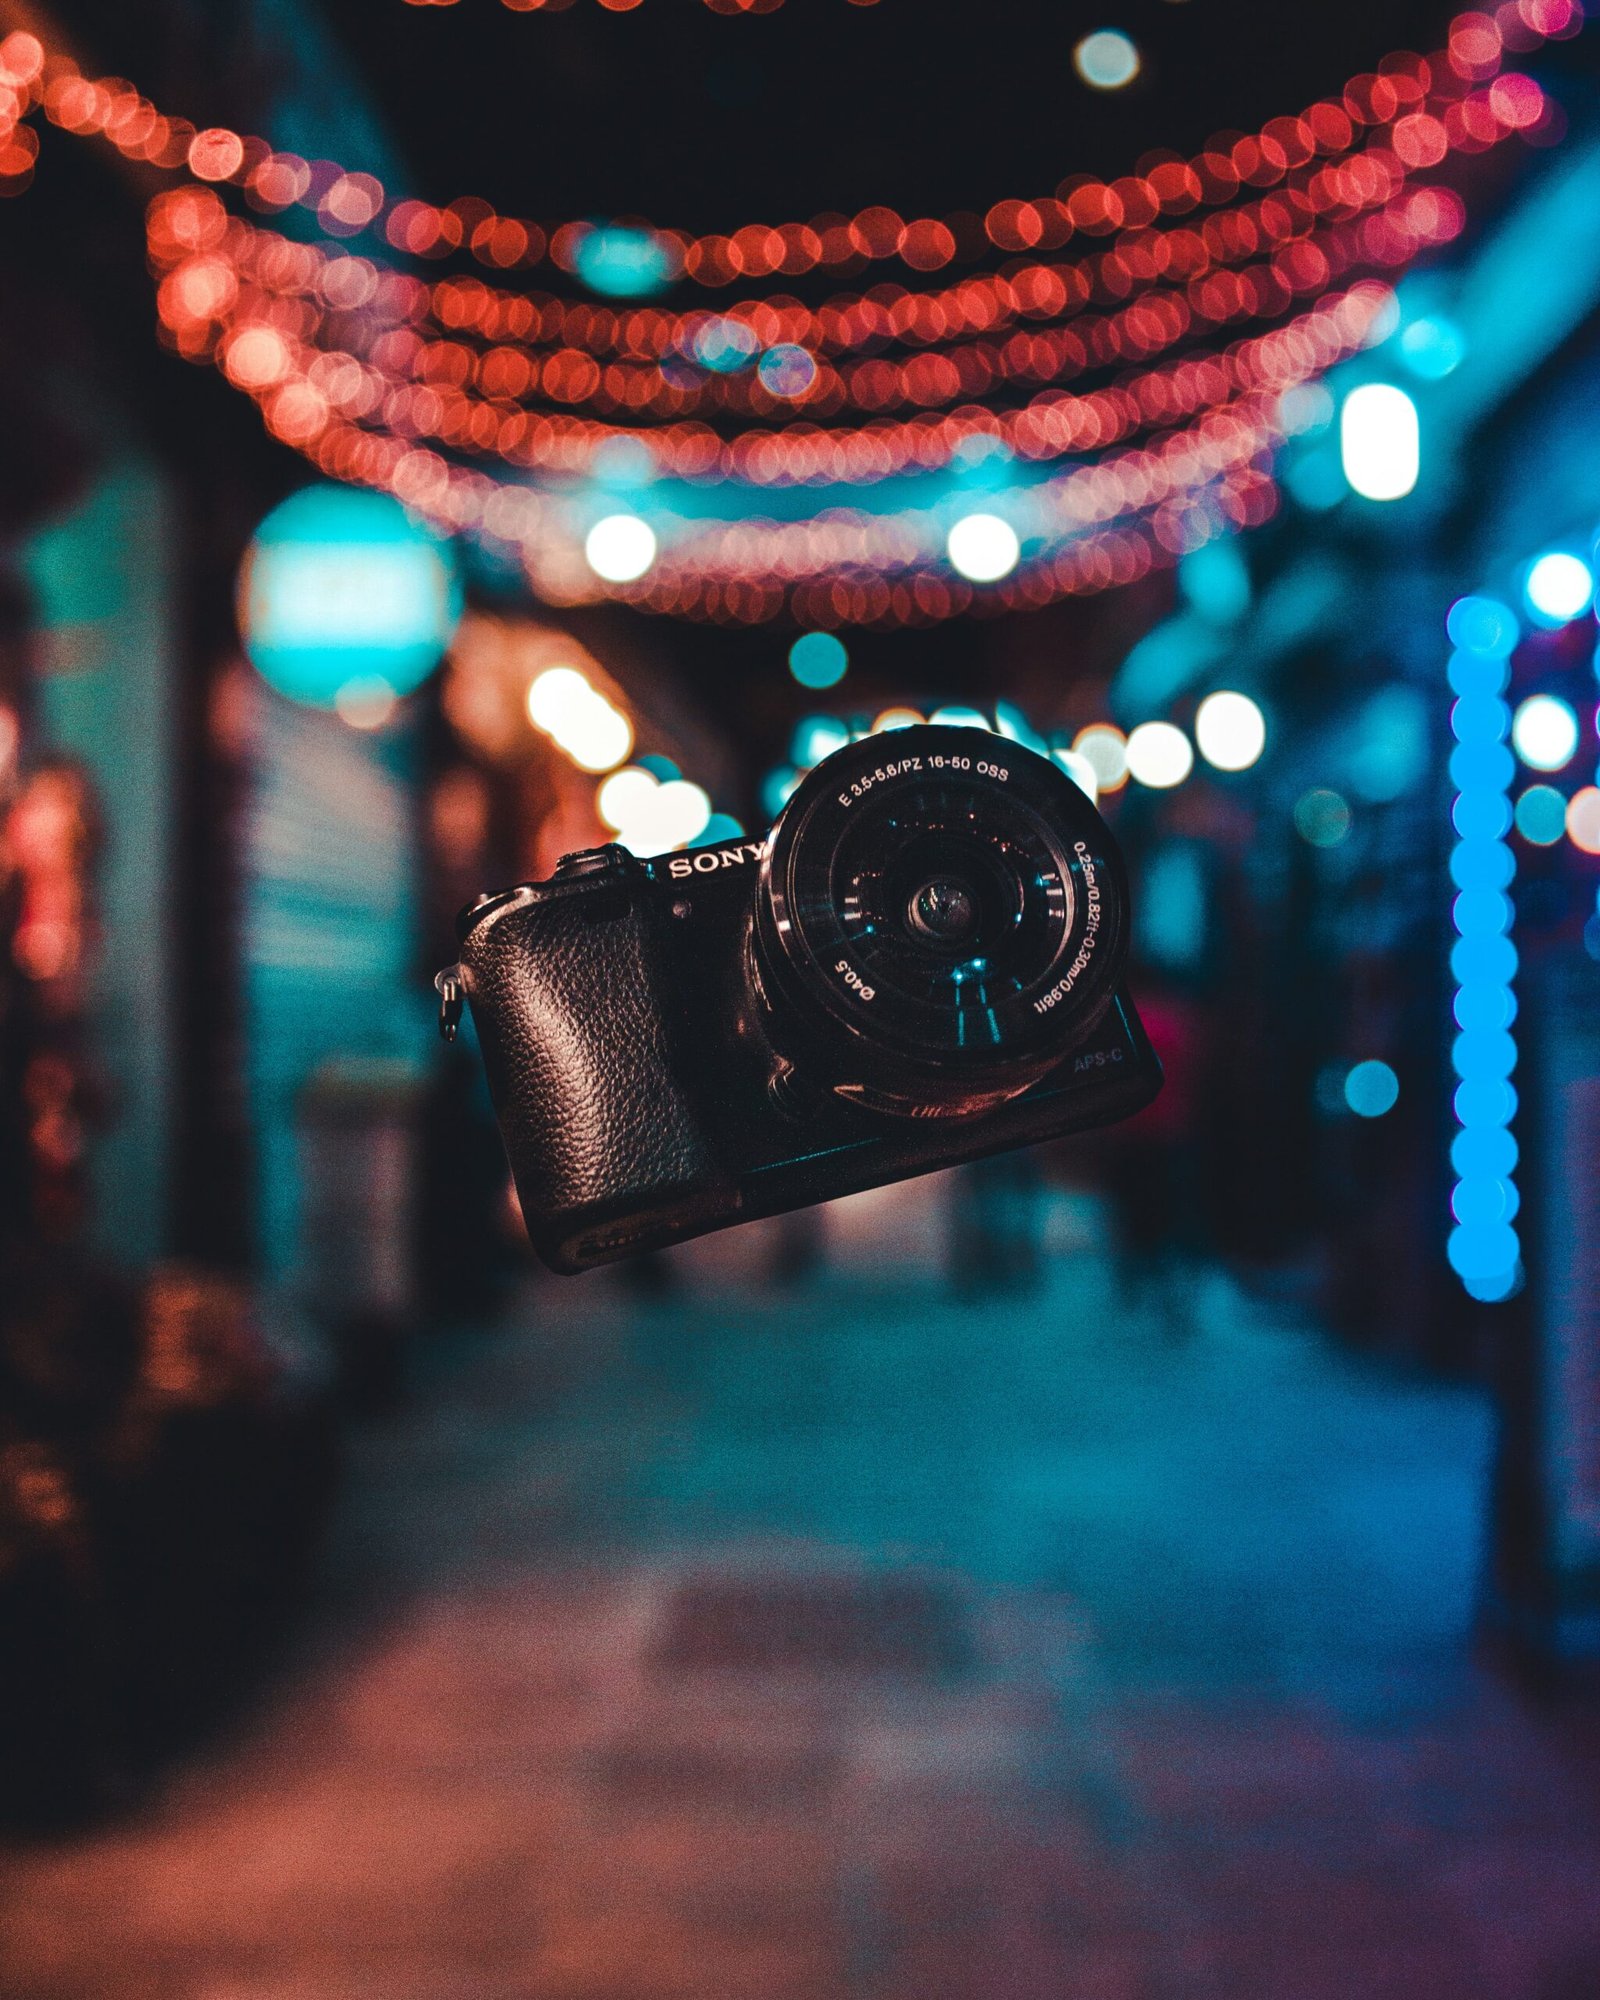
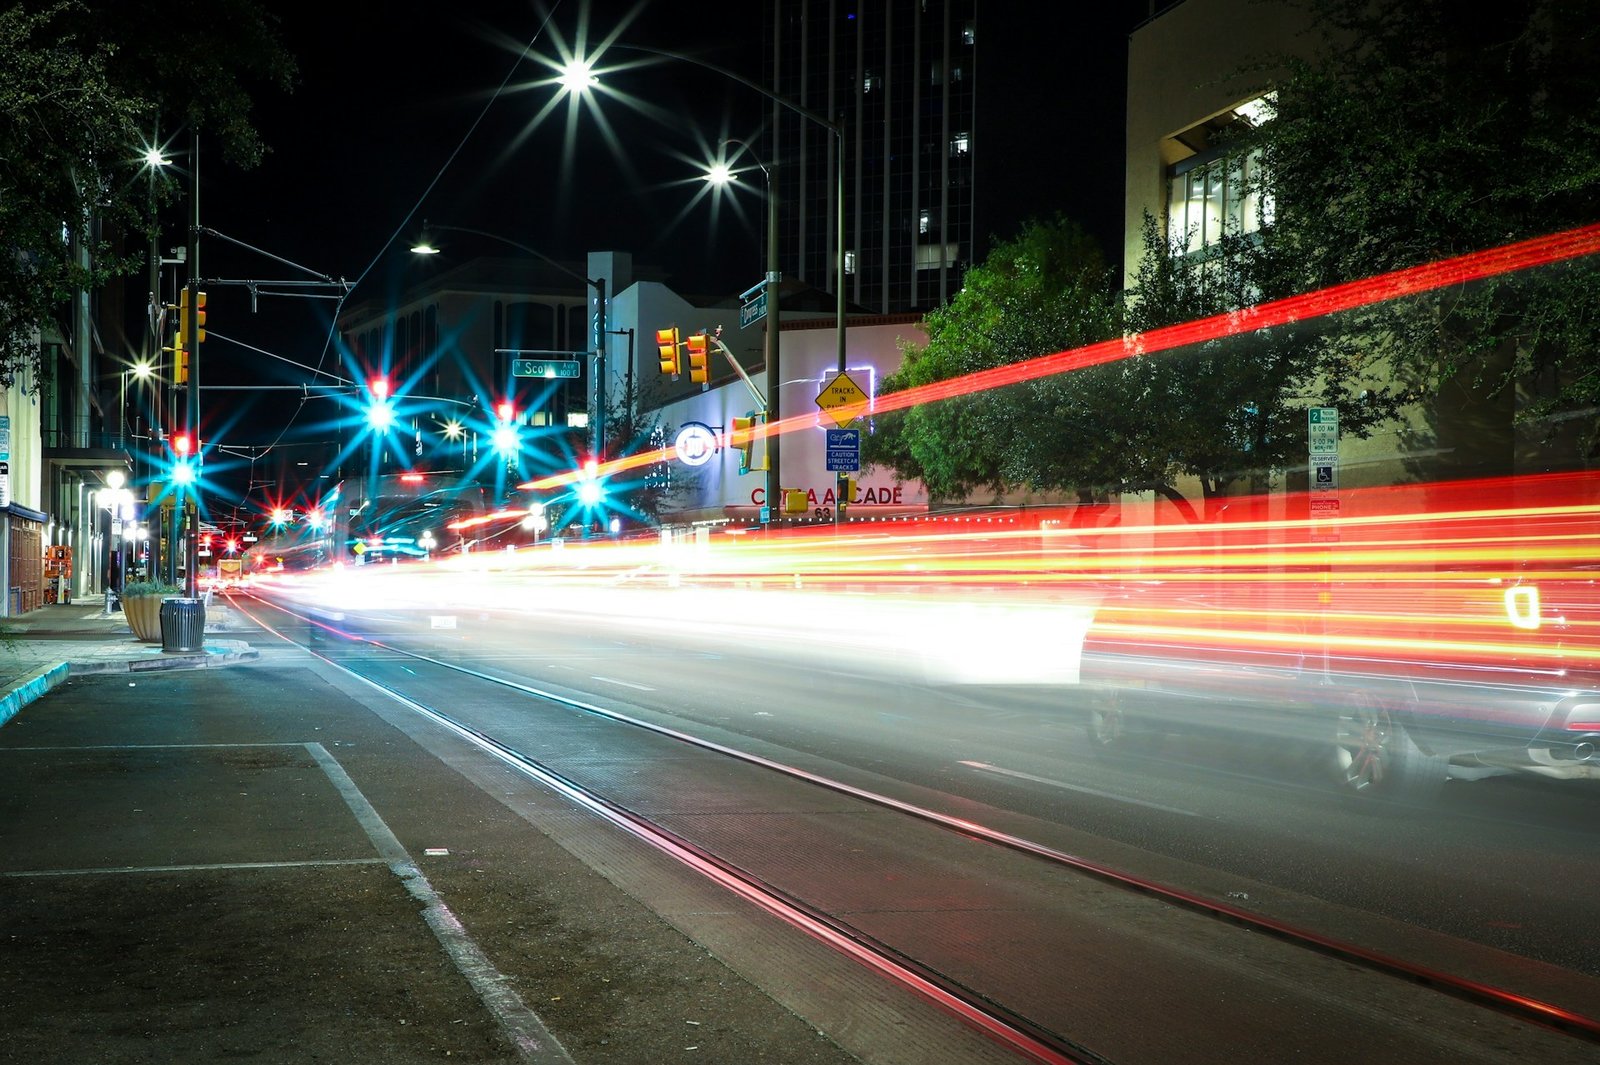
The shutter speed plays a critical role in night photography by controlling the duration of time that the camera’s sensor is exposed to light. In low-light conditions, such as those encountered during nighttime shooting, employing a slower shutter speed becomes imperative to allow an ample amount of light to reach the sensor. This extended exposure time facilitates the capture of intricate details and subtle nuances of ambient light, contributing to the overall quality and clarity of the image. However, it’s essential to be mindful of the potential drawbacks associated with using a slow shutter speed, particularly the risk of introducing motion blur into your photos. This blur can be especially pronounced when photographing moving subjects or when shooting handheld.
To mitigate this issue, photographers often opt for the use of a tripod or stable surface to ensure the camera remains perfectly still throughout the exposure, thus minimizing any unwanted blurring and maximizing image sharpness. Additionally, experimenting with different shutter speeds allows for creative control over the depiction of motion in your photographs, enabling you to achieve stunning visual effects and convey a sense of dynamic energy or serene stillness, depending on your artistic vision and intent. Therefore, mastering the manipulation of shutter speed is essential for unlocking the full creative potential of your nocturnal photography endeavors.
2. Aperture
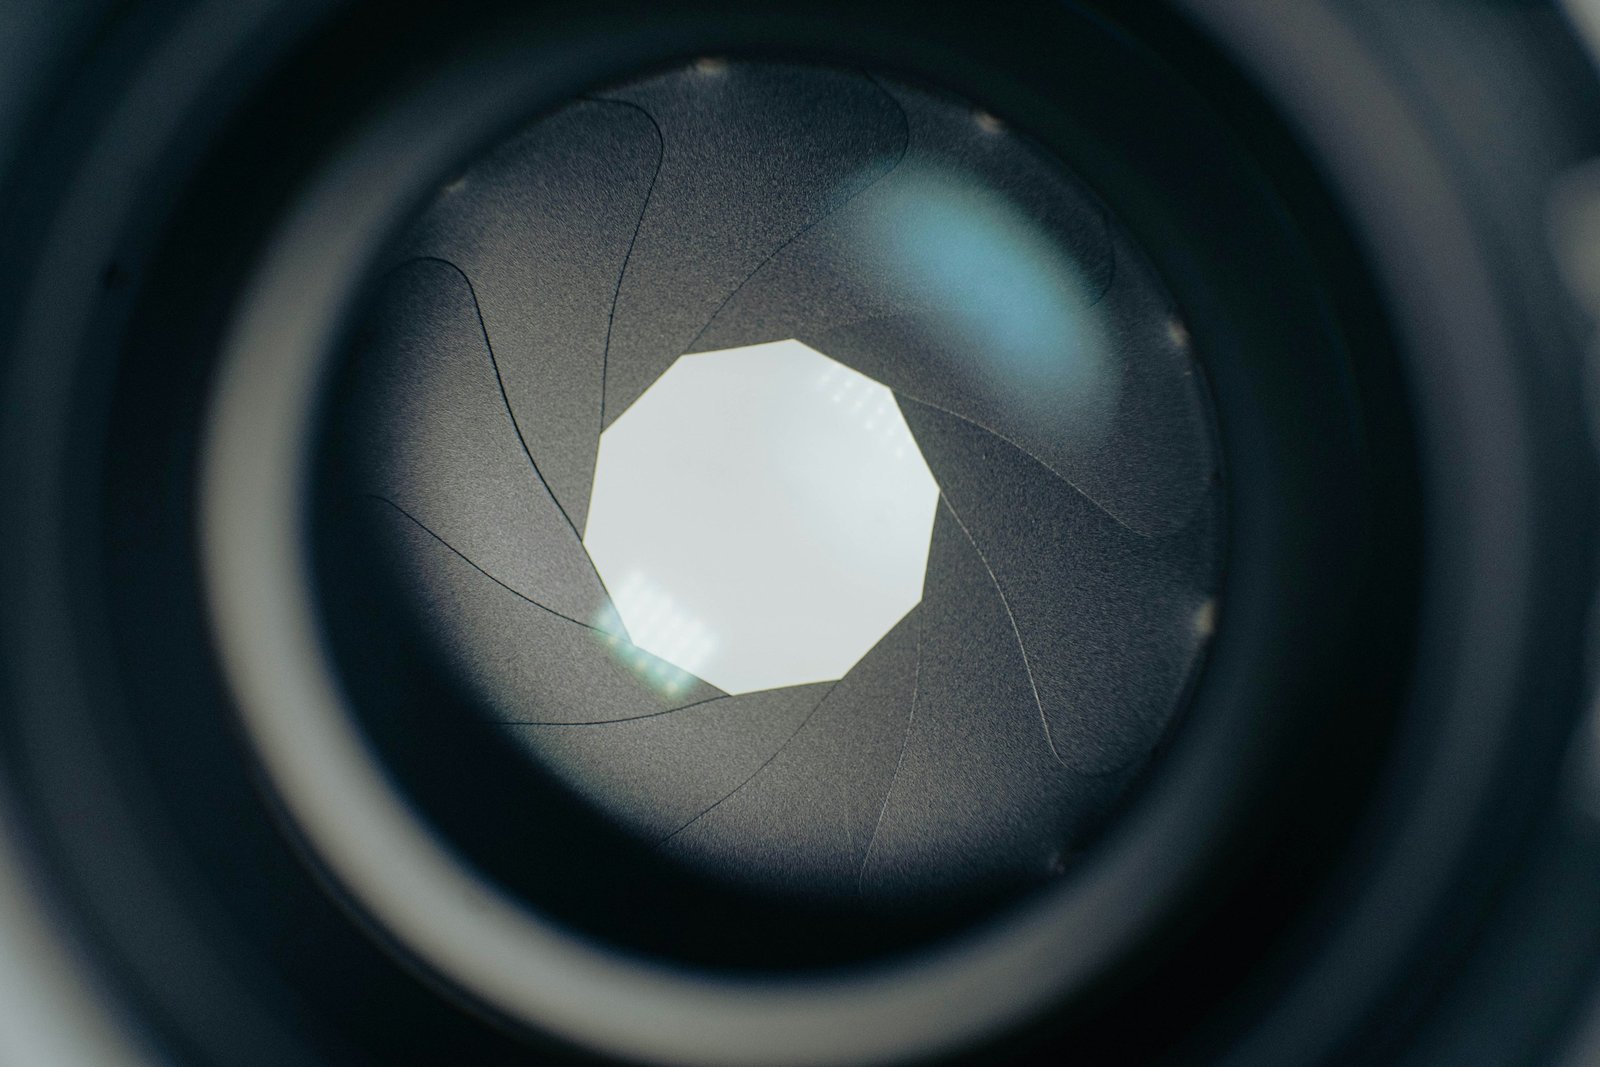
The aperture, often referred to as the iris or diaphragm of the camera lens, plays a pivotal role in shaping the outcome of night photography. It denotes the size of the lens opening, typically measured in f-stops. When delving into nocturnal shooting, it’s highly recommended to opt for a wider aperture setting, characterized by a lower f-number, to facilitate the maximization of light intake into the camera. This strategic choice serves to enhance the overall brightness of the image, allowing for clearer delineation of subjects and background details against the backdrop of the night sky.
Moreover, employing a wider aperture not only aids in illuminating the scene but also contributes to the creation of a captivating bokeh effect, characterized by soft, out-of-focus areas that lend a dreamy, ethereal quality to the photograph. However, it’s essential to exercise caution when utilizing a wide aperture, as it can lead to a shallower depth of field, resulting in a narrower area of focus. To counteract this potential drawback, meticulous attention to focus adjustments becomes paramount, ensuring that the key elements of the composition remain crisply rendered while still capitalizing on the aesthetic allure of the bokeh effect.
Additionally, experimenting with various aperture settings empowers photographers to exercise creative control over the visual narrative of their images, allowing for the exploration of different depths of field and the manipulation of foreground-background relationships to convey mood, atmosphere, and narrative resonance. Thus, mastering the art of aperture selection is instrumental in harnessing the full expressive potential of nocturnal photography, enabling photographers to craft evocative and visually compelling compositions that resonate with viewers on a profound aesthetic and emotional level.
3. ISO
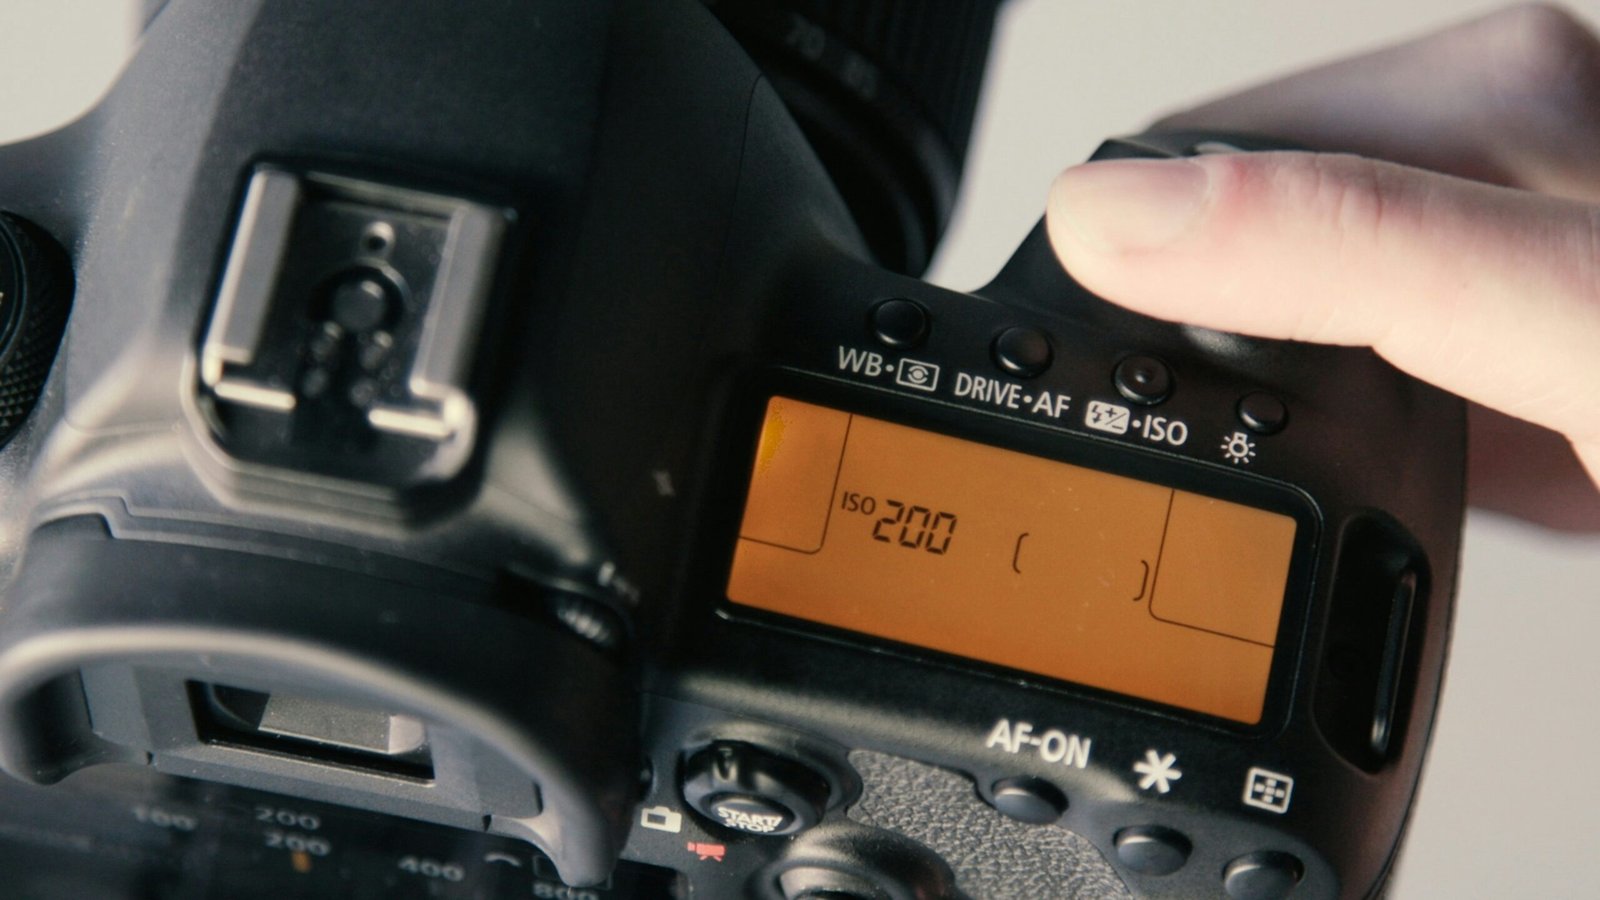
Determining the ideal ISO settings for a night photoshoot is crucial for capturing stunning nighttime images. It requires finding a delicate balance between capturing sufficient light for a well-exposed image and minimizing the introduction of unwanted digital noise. When setting up for a night photoshoot, it’s crucial to consider various factors such as available light, desired exposure, and the specific capabilities of the camera being used. Generally, it’s recommended to start with a lower ISO setting, such as 100 or 200, to maintain optimal image quality and minimize noise.
These lower ISO settings allow for cleaner, sharper images, especially when combined with a longer exposure time. However, in extremely low-light conditions, it may be necessary to increase the ISO to a higher value, such as 800 or even 1600, to adequately illuminate the scene. This higher ISO helps in capturing more light in darker conditions but may introduce digital noise, impacting the overall image quality. Modern cameras often offer excellent noise reduction capabilities, allowing photographers to push ISO levels higher without sacrificing too much image quality. Nevertheless, it’s essential to keep a close eye on the appearance of noise in the resulting images and adjust the ISO accordingly to strike the right balance between brightness and image clarity. By monitoring the image quality, photographers can ensure that the ISO setting is optimized for the specific shooting conditions.
Additionally, using a tripod or other stabilization methods can help mitigate the need for excessively high ISO settings by allowing for longer exposure times without introducing camera shake. This technique can be particularly useful when shooting at lower ISO settings to maintain image quality while capturing sufficient light for the scene. Ultimately, the optimal ISO setting for a night photoshoot will depend on various factors, including the available light, desired exposure, and specific capabilities of the camera being used. Experimentation and careful monitoring of image quality are key to achieving the best results in nocturnal photography. By understanding how ISO settings impact image quality and considering the specific shooting conditions, photographers can capture stunning night photos with the perfect balance of light and clarity.
4. White Balance
Determining the ideal ISO settings for a night photoshoot is crucial for capturing stunning nighttime images. It requires finding a delicate balance between capturing sufficient light for a well-exposed image and minimizing the introduction of unwanted digital noise. When setting up for a night photoshoot, it’s crucial to consider various factors such as available light, desired exposure, and the specific capabilities of the camera being used. Generally, it’s recommended to start with a lower ISO setting, such as 100 or 200, to maintain optimal image quality and minimize noise.
These lower ISO settings allow for cleaner, sharper images, especially when combined with a longer exposure time. However, in extremely low-light conditions, it may be necessary to increase the ISO to a higher value, such as 800 or even 1600, to adequately illuminate the scene. This higher ISO helps in capturing more light in darker conditions but may introduce digital noise, impacting the overall image quality. Modern cameras often offer excellent noise reduction capabilities, allowing photographers to push ISO levels higher without sacrificing too much image quality. Nevertheless, it’s essential to keep a close eye on the appearance of noise in the resulting images and adjust the ISO accordingly to strike the right balance between brightness and image clarity. By monitoring the image quality, photographers can ensure that the ISO setting is optimized for the specific shooting conditions.
Additionally, using a tripod or other stabilization methods can help mitigate the need for excessively high ISO settings by allowing for longer exposure times without introducing camera shake. This technique can be particularly useful when shooting at lower ISO settings to maintain image quality while capturing sufficient light for the scene. Ultimately, the optimal ISO setting for a night photoshoot will depend on various factors, including the available light, desired exposure, and specific capabilities of the camera being used. Experimentation and careful monitoring of image quality are key to achieving the best results in nocturnal photography. By understanding how ISO settings impact image quality and considering the specific shooting conditions, photographers can capture stunning night photos with the perfect balance of light and clarity.
5. Long Exposure Noise Reduction
Determining the ideal ISO settings for a night photoshoot is crucial for capturing stunning nighttime images. It requires finding a delicate balance between capturing sufficient light for a well-exposed image and minimizing the introduction of unwanted digital noise. When setting up for a night photoshoot, it’s crucial to consider various factors such as available light, desired exposure, and the specific capabilities of the camera being used. Generally, it’s recommended to start with a lower ISO setting, such as 100 or 200, to maintain optimal image quality and minimize noise.
These lower ISO settings allow for cleaner, sharper images, especially when combined with a longer exposure time. However, in extremely low-light conditions, it may be necessary to increase the ISO to a higher value, such as 800 or even 1600, to adequately illuminate the scene. This higher ISO helps in capturing more light in darker conditions but may introduce digital noise, impacting the overall image quality. Modern cameras often offer excellent noise reduction capabilities, allowing photographers to push ISO levels higher without sacrificing too much image quality. Nevertheless, it’s essential to keep a close eye on the appearance of noise in the resulting images and adjust the ISO accordingly to strike the right balance between brightness and image clarity. By monitoring the image quality, photographers can ensure that the ISO setting is optimized for the specific shooting conditions.
Additionally, using a tripod or other stabilization methods can help mitigate the need for excessively high ISO settings by allowing for longer exposure times without introducing camera shake. This technique can be particularly useful when shooting at lower ISO settings to maintain image quality while capturing sufficient light for the scene. Ultimately, the optimal ISO setting for a night photoshoot will depend on various factors, including the available light, desired exposure, and specific capabilities of the camera being used. Experimentation and careful monitoring of image quality are key to achieving the best results in nocturnal photography. By understanding how ISO settings impact image quality and considering the specific shooting conditions, photographers can capture stunning night photos with the perfect balance of light and clarity.
Mastering camera settings for night photography is essential to capture stunning images in low-light conditions. By adjusting your shutter speed, aperture, ISO, white balance, and utilizing long exposure noise reduction, you can achieve well-exposed and detailed photos. Remember to experiment with different settings and techniques to find what works best for your specific camera and the desired outcome of your night photography.
When it comes to capturing stunning night photography, having the right camera settings is crucial for achieving remarkable results. The darkness of the night sky and the unique lighting conditions it offers demand specific adjustments to ensure that your images turn out sharp, well-exposed, and full of captivating detail. Understanding the interplay between aperture, shutter speed, and ISO sensitivity becomes even more critical as you navigate through the intricacies of nocturnal photography.
Moreover, factors such as the moon’s phase, light pollution, and even atmospheric conditions can significantly influence your camera settings and the overall outcome of your night shots. Therefore, in this comprehensive guide, we will delve deep into the essential camera settings you should consider when venturing into the realm of night photography, equipping you with the knowledge and expertise needed to master this captivating art form.
1. Shutter Speed

The shutter speed plays a critical role in night photography by controlling the duration of time that the camera’s sensor is exposed to light. In low-light conditions, such as those encountered during nighttime shooting, employing a slower shutter speed becomes imperative to allow an ample amount of light to reach the sensor. This extended exposure time facilitates the capture of intricate details and subtle nuances of ambient light, contributing to the overall quality and clarity of the image. However, it’s essential to be mindful of the potential drawbacks associated with using a slow shutter speed, particularly the risk of introducing motion blur into your photos. This blur can be especially pronounced when photographing moving subjects or when shooting handheld.
To mitigate this issue, photographers often opt for the use of a tripod or stable surface to ensure the camera remains perfectly still throughout the exposure, thus minimizing any unwanted blurring and maximizing image sharpness. Additionally, experimenting with different shutter speeds allows for creative control over the depiction of motion in your photographs, enabling you to achieve stunning visual effects and convey a sense of dynamic energy or serene stillness, depending on your artistic vision and intent. Therefore, mastering the manipulation of shutter speed is essential for unlocking the full creative potential of your nocturnal photography endeavors.
2. Aperture

The aperture, often referred to as the iris or diaphragm of the camera lens, plays a pivotal role in shaping the outcome of night photography. It denotes the size of the lens opening, typically measured in f-stops. When delving into nocturnal shooting, it’s highly recommended to opt for a wider aperture setting, characterized by a lower f-number, to facilitate the maximization of light intake into the camera. This strategic choice serves to enhance the overall brightness of the image, allowing for clearer delineation of subjects and background details against the backdrop of the night sky.
Moreover, employing a wider aperture not only aids in illuminating the scene but also contributes to the creation of a captivating bokeh effect, characterized by soft, out-of-focus areas that lend a dreamy, ethereal quality to the photograph. However, it’s essential to exercise caution when utilizing a wide aperture, as it can lead to a shallower depth of field, resulting in a narrower area of focus. To counteract this potential drawback, meticulous attention to focus adjustments becomes paramount, ensuring that the key elements of the composition remain crisply rendered while still capitalizing on the aesthetic allure of the bokeh effect.
Additionally, experimenting with various aperture settings empowers photographers to exercise creative control over the visual narrative of their images, allowing for the exploration of different depths of field and the manipulation of foreground-background relationships to convey mood, atmosphere, and narrative resonance. Thus, mastering the art of aperture selection is instrumental in harnessing the full expressive potential of nocturnal photography, enabling photographers to craft evocative and visually compelling compositions that resonate with viewers on a profound aesthetic and emotional level.
3. ISO

Determining the ideal ISO settings for a night photoshoot is crucial for capturing stunning nighttime images. It requires finding a delicate balance between capturing sufficient light for a well-exposed image and minimizing the introduction of unwanted digital noise. When setting up for a night photoshoot, it’s crucial to consider various factors such as available light, desired exposure, and the specific capabilities of the camera being used. Generally, it’s recommended to start with a lower ISO setting, such as 100 or 200, to maintain optimal image quality and minimize noise.
These lower ISO settings allow for cleaner, sharper images, especially when combined with a longer exposure time. However, in extremely low-light conditions, it may be necessary to increase the ISO to a higher value, such as 800 or even 1600, to adequately illuminate the scene. This higher ISO helps in capturing more light in darker conditions but may introduce digital noise, impacting the overall image quality. Modern cameras often offer excellent noise reduction capabilities, allowing photographers to push ISO levels higher without sacrificing too much image quality. Nevertheless, it’s essential to keep a close eye on the appearance of noise in the resulting images and adjust the ISO accordingly to strike the right balance between brightness and image clarity. By monitoring the image quality, photographers can ensure that the ISO setting is optimized for the specific shooting conditions.
Additionally, using a tripod or other stabilization methods can help mitigate the need for excessively high ISO settings by allowing for longer exposure times without introducing camera shake. This technique can be particularly useful when shooting at lower ISO settings to maintain image quality while capturing sufficient light for the scene. Ultimately, the optimal ISO setting for a night photoshoot will depend on various factors, including the available light, desired exposure, and specific capabilities of the camera being used. Experimentation and careful monitoring of image quality are key to achieving the best results in nocturnal photography. By understanding how ISO settings impact image quality and considering the specific shooting conditions, photographers can capture stunning night photos with the perfect balance of light and clarity.
4. White Balance

Night photography offers a canvas of captivating lights, shadows, and colors, creating mesmerizing compositions. However, achieving the perfect white balance in night settings can be a challenge. White balance is crucial for ensuring that colors appear natural and true to life in your nocturnal captures. In this blog, we’ll delve into the nuances of white balance in night photography and explore techniques to master it, allowing you to create stunning images that evoke the essence of the night. Before delving into night photography, let’s grasp the concept of white balance. White balance refers to the color temperature of light, measured in Kelvin (K). Different light sources emit varying color temperatures. For instance, daylight has a higher color temperature (around 5500K to 6500K), resulting in cooler tones, while tungsten light bulbs emit warmer tones (around 2500K to 3500K).
In night photography, artificial light sources dominate the scene, ranging from streetlights and neon signs to headlights and moonlight. These light sources have distinct color temperatures, influencing the overall tone of your images. Achieving the right white balance ensures that colors appear natural and balanced, enhancing the visual impact of your night photographs.
Most digital cameras offer a range of white balance presets, such as daylight, shade, cloudy, tungsten, fluorescent, and auto white balance. While auto white balance can be convenient, it may not always produce the desired results, especially in challenging lighting conditions like at night. For night photography, consider using specific white balance presets or manually adjusting the Kelvin temperature to suit the ambient lighting. Experiment with different settings to achieve the desired mood and atmosphere in your images.
When shooting in RAW format, you have the flexibility to adjust white balance during post-processing without compromising image quality. This allows you to fine-tune white balance settings to perfection, tailoring them to the unique characteristics of each night scene. Alternatively, you can use color correction tools in photo editing software to selectively adjust white balance in different areas of the image, balancing the tones and enhancing visual harmony.
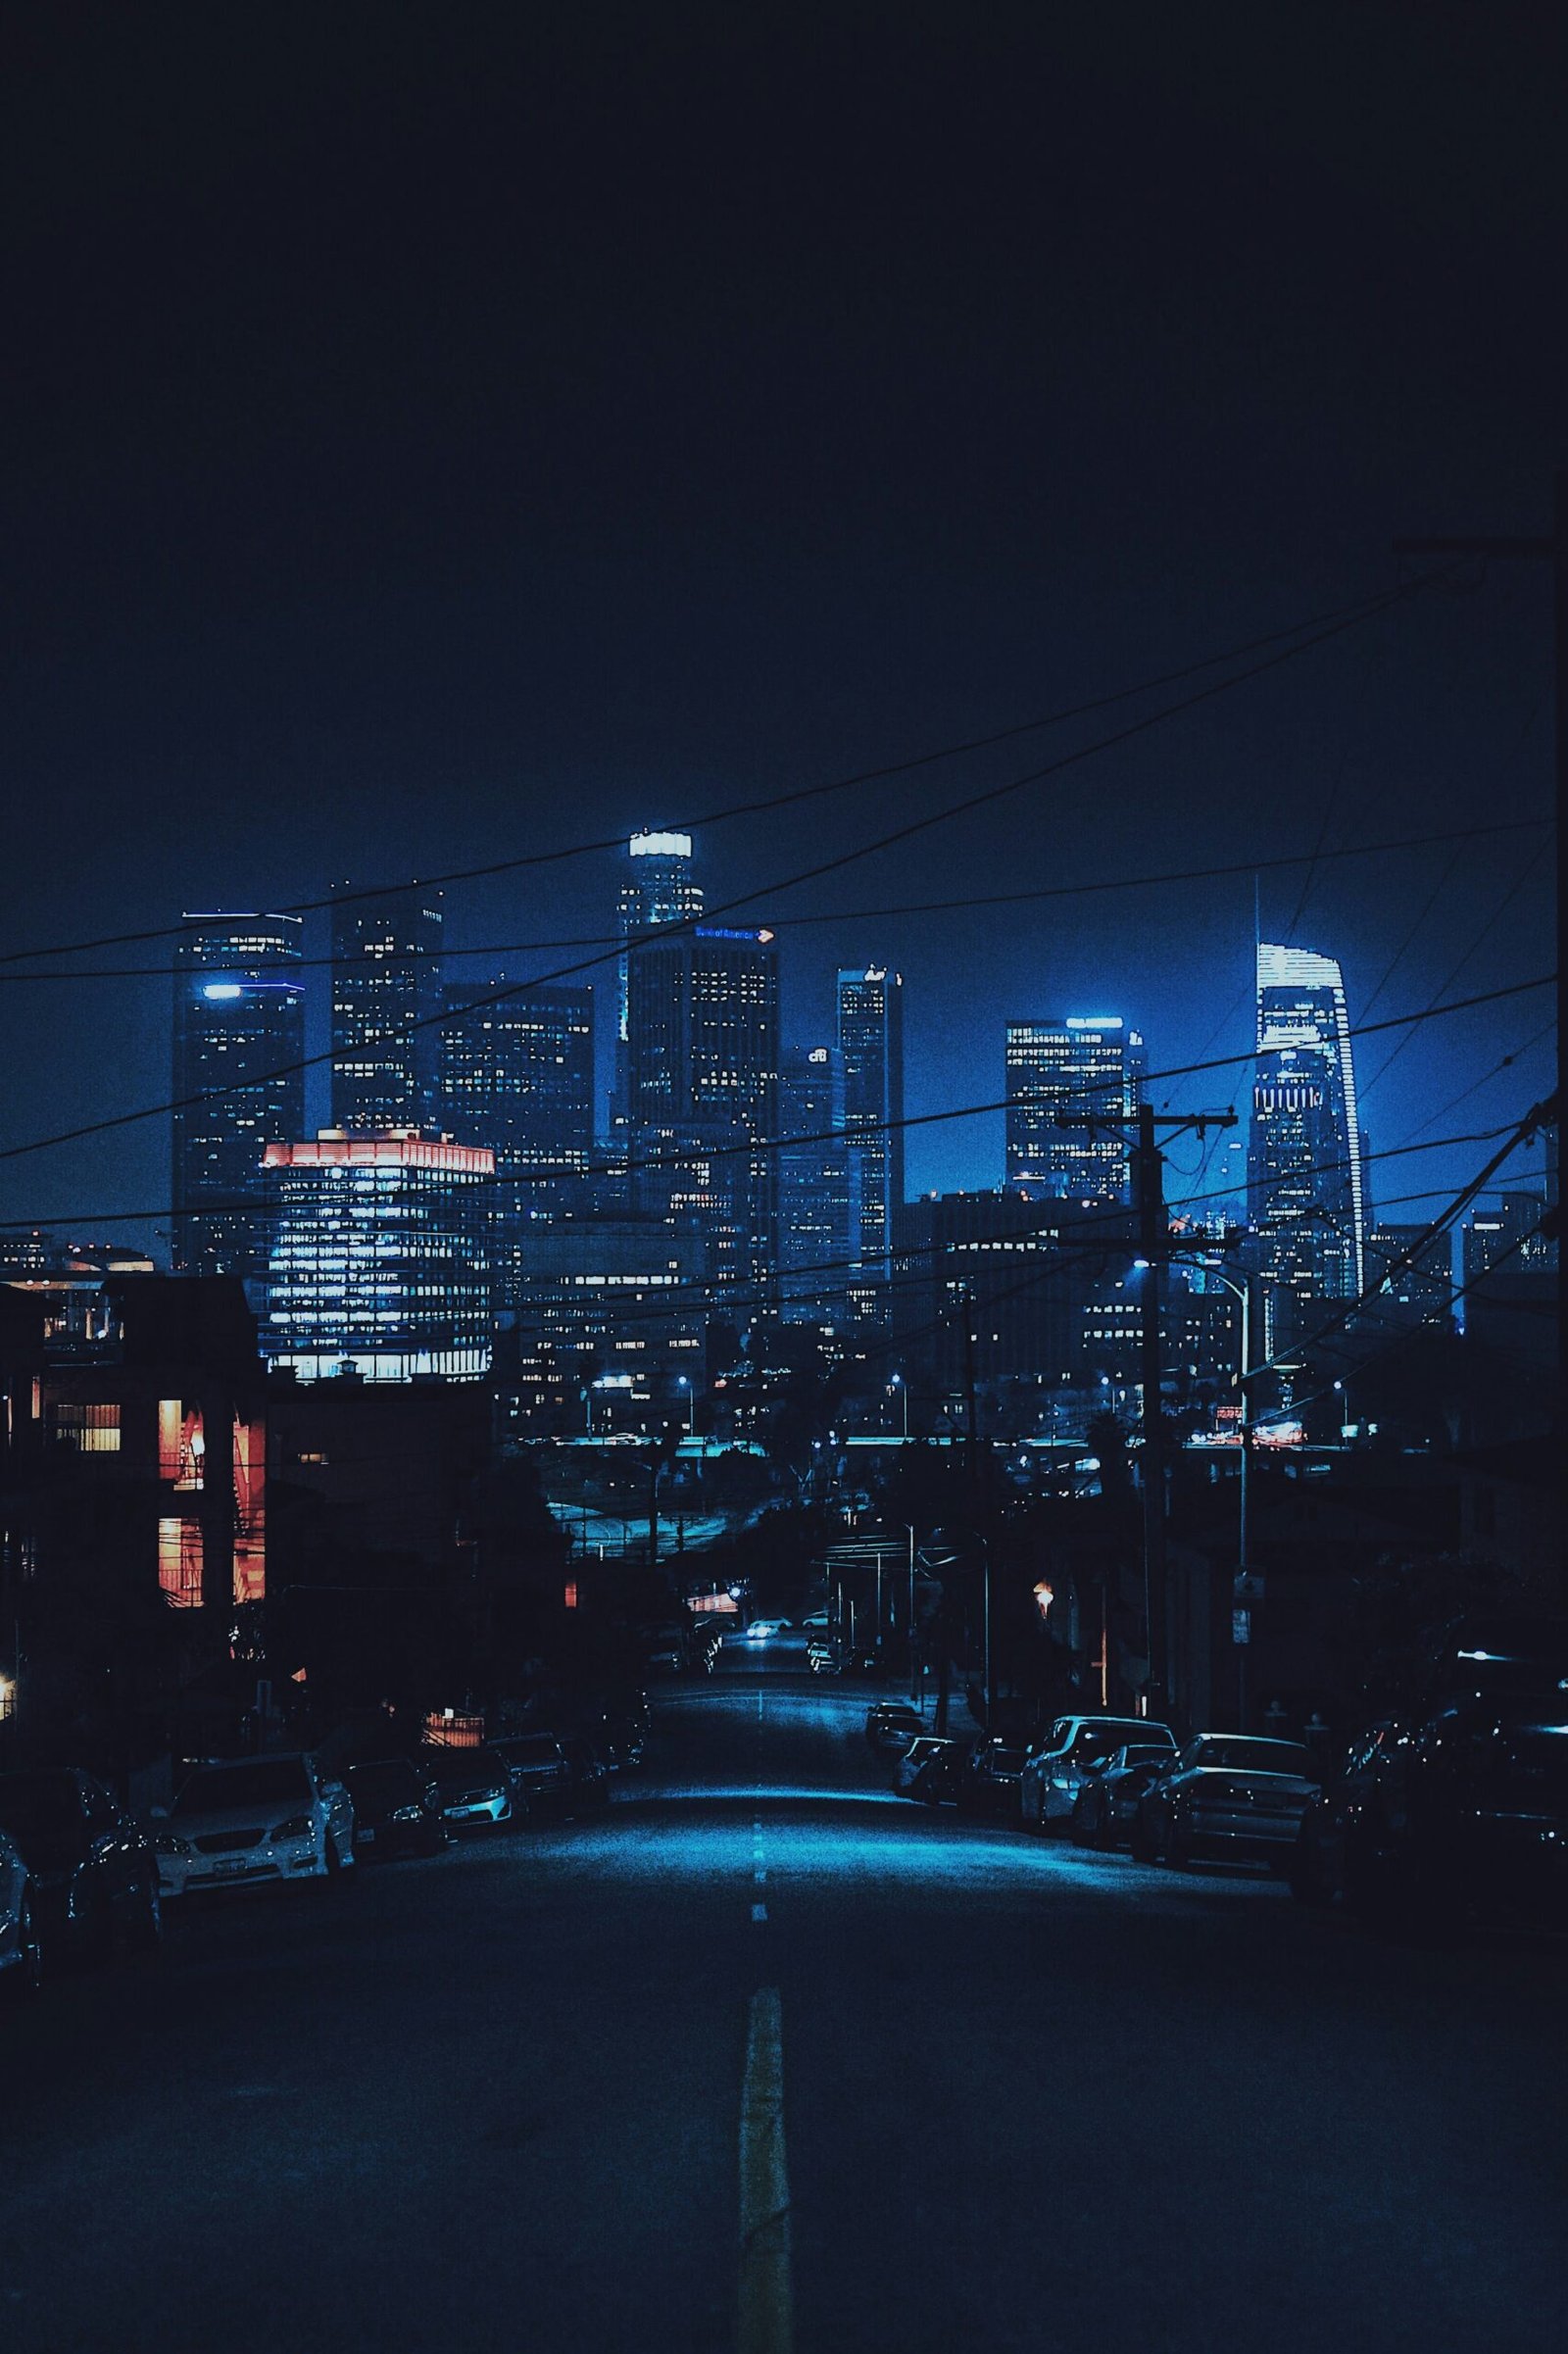
White balance manipulation offers creative opportunities to convey mood and emotion in night photography. Experiment with cooler tones to evoke a sense of mystery and tranquility in nocturnal landscapes. Conversely, warm tones can infuse images with warmth and intimacy, ideal for capturing urban nightlife or illuminated cityscapes. Incorporate contrasting color temperatures to add depth and visual interest to your compositions. For instance, juxtaposing warm and cool light sources can create striking compositions that draw the viewer’s attention.
5. Long Exposure Noise Reduction

Long exposure noise reduction is a crucial technique in night photography settings, particularly when using long exposure times to capture the subtle details of low-light scenes. When photographing in dimly lit environments, the camera’s sensor may produce unwanted noise, resulting in grainy or speckled images. Long exposure noise reduction helps mitigate this issue by identifying and reducing noise during the exposure process. This technique works by capturing a second exposure with the camera’s shutter closed immediately after the initial long exposure. During this second exposure, the camera records only the noise present in the sensor, allowing it to create a noise profile. By subtracting this noise profile from the original image, long exposure noise reduction effectively minimizes noise while preserving image quality, resulting in cleaner, more visually appealing night photographs.
Mastering camera settings for night photography is essential to capture stunning images in low-light conditions. By adjusting your shutter speed, aperture, ISO, white balance, and utilizing long exposure noise reduction, you can achieve well-exposed and detailed photos. Remember to experiment with different settings and techniques to find what works best for your specific camera and the desired outcome of your night photography.
When it comes to capturing stunning night photography, having the right camera settings is crucial for achieving remarkable results. The darkness of the night sky and the unique lighting conditions it offers demand specific adjustments to ensure that your images turn out sharp, well-exposed, and full of captivating detail. Understanding the interplay between aperture, shutter speed, and ISO sensitivity becomes even more critical as you navigate through the intricacies of nocturnal photography.
Moreover, factors such as the moon’s phase, light pollution, and even atmospheric conditions can significantly influence your camera settings and the overall outcome of your night shots. Therefore, in this comprehensive guide, we will delve deep into the essential camera settings you should consider when venturing into the realm of night photography, equipping you with the knowledge and expertise needed to master this captivating art form.
1. Shutter Speed

The shutter speed plays a critical role in night photography by controlling the duration of time that the camera’s sensor is exposed to light. In low-light conditions, such as those encountered during nighttime shooting, employing a slower shutter speed becomes imperative to allow an ample amount of light to reach the sensor. This extended exposure time facilitates the capture of intricate details and subtle nuances of ambient light, contributing to the overall quality and clarity of the image.
However, it’s essential to be mindful of the potential drawbacks associated with using a slow shutter speed, particularly the risk of introducing motion blur into your photos. This blur can be especially pronounced when photographing moving subjects or when shooting handheld.
To mitigate this issue, photographers often opt for the use of a tripod or stable surface to ensure the camera remains perfectly still throughout the exposure, thus minimizing any unwanted blurring and maximizing image sharpness. Additionally, experimenting with different shutter speeds allows for creative control over the depiction of motion in your photographs, enabling you to achieve stunning visual effects and convey a sense of dynamic energy or serene stillness, depending on your artistic vision and intent. Therefore, mastering the manipulation of shutter speed is essential for unlocking the full creative potential of your nocturnal photography endeavors.
2. Aperture

The aperture, often referred to as the iris or diaphragm of the camera lens, plays a pivotal role in shaping the outcome of night photography. It denotes the size of the lens opening, typically measured in f-stops. When delving into nocturnal shooting, it’s highly recommended to opt for a wider aperture setting, characterized by a lower f-number, to facilitate the maximization of light intake into the camera. This strategic choice serves to enhance the overall brightness of the image, allowing for clearer delineation of subjects and background details against the backdrop of the night sky.
Moreover, employing a wider aperture not only aids in illuminating the scene but also contributes to the creation of a captivating bokeh effect, characterized by soft, out-of-focus areas that lend a dreamy, ethereal quality to the photograph. However, it’s essential to exercise caution when utilizing a wide aperture, as it can lead to a shallower depth of field, resulting in a narrower area of focus. To counteract this potential drawback, meticulous attention to focus adjustments becomes paramount, ensuring that the key elements of the composition remain crisply rendered while still capitalizing on the aesthetic allure of the bokeh effect.
Additionally, experimenting with various aperture settings empowers photographers to exercise creative control over the visual narrative of their images, allowing for the exploration of different depths of field and the manipulation of foreground-background relationships to convey mood, atmosphere, and narrative resonance. Thus, mastering the art of aperture selection is instrumental in harnessing the full expressive potential of nocturnal photography, enabling photographers to craft evocative and visually compelling compositions that resonate with viewers on a profound aesthetic and emotional level.
3. ISO

Determining the ideal ISO settings for a night photoshoot is crucial for capturing stunning nighttime images. It requires finding a delicate balance between capturing sufficient light for a well-exposed image and minimizing the introduction of unwanted digital noise. When setting up for a night photoshoot, it’s crucial to consider various factors such as available light, desired exposure, and the specific capabilities of the camera being used. Generally, it’s recommended to start with a lower ISO setting, such as 100 or 200, to maintain optimal image quality and minimize noise.
These lower ISO settings allow for cleaner, sharper images, especially when combined with a longer exposure time. However, in extremely low-light conditions, it may be necessary to increase the ISO to a higher value, such as 800 or even 1600, to adequately illuminate the scene. This higher ISO helps in capturing more light in darker conditions but may introduce digital noise, impacting the overall image quality. Modern cameras often offer excellent noise reduction capabilities, allowing photographers to push ISO levels higher without sacrificing too much image quality. Nevertheless, it’s essential to keep a close eye on the appearance of noise in the resulting images and adjust the ISO accordingly to strike the right balance between brightness and image clarity. By monitoring the image quality, photographers can ensure that the ISO setting is optimized for the specific shooting conditions.
Additionally, using a tripod or other stabilization methods can help mitigate the need for excessively high ISO settings by allowing for longer exposure times without introducing camera shake. This technique can be particularly useful when shooting at lower ISO settings to maintain image quality while capturing sufficient light for the scene. Ultimately, the optimal ISO setting for a night photoshoot will depend on various factors, including the available light, desired exposure, and specific capabilities of the camera being used. Experimentation and careful monitoring of image quality are key to achieving the best results in nocturnal photography. By understanding how ISO settings impact image quality and considering the specific shooting conditions, photographers can capture stunning night photos with the perfect balance of light and clarity.
4. White Balance

Night photography offers a canvas of captivating lights, shadows, and colors, creating mesmerizing compositions. However, achieving the perfect white balance in night settings can be a challenge. White balance is crucial for ensuring that colors appear natural and true to life in your nocturnal captures. In this blog, we’ll delve into the nuances of white balance in night photography and explore techniques to master it, allowing you to create stunning images that evoke the essence of the night. Before delving into night photography, let’s grasp the concept of white balance. White balance refers to the color temperature of light, measured in Kelvin (K). Different light sources emit varying color temperatures. For instance, daylight has a higher color temperature (around 5500K to 6500K), resulting in cooler tones, while tungsten light bulbs emit warmer tones (around 2500K to 3500K).
In night photography, artificial light sources dominate the scene, ranging from streetlights and neon signs to headlights and moonlight. These light sources have distinct color temperatures, influencing the overall tone of your images. Achieving the right white balance ensures that colors appear natural and balanced, enhancing the visual impact of your night photographs.
Most digital cameras offer a range of white balance presets, such as daylight, shade, cloudy, tungsten, fluorescent, and auto white balance. While auto white balance can be convenient, it may not always produce the desired results, especially in challenging lighting conditions like at night. For night photography, consider using specific white balance presets or manually adjusting the Kelvin temperature to suit the ambient lighting. Experiment with different settings to achieve the desired mood and atmosphere in your images.
When shooting in RAW format, you have the flexibility to adjust white balance during post-processing without compromising image quality. This allows you to fine-tune white balance settings to perfection, tailoring them to the unique characteristics of each night scene. Alternatively, you can use color correction tools in photo editing software to selectively adjust white balance in different areas of the image, balancing the tones and enhancing visual harmony.
White balance manipulation offers creative opportunities to convey mood and emotion in night photography. Experiment with cooler tones to evoke a sense of mystery and tranquility in nocturnal landscapes. Conversely, warm tones can infuse images with warmth and intimacy, ideal for capturing urban nightlife or illuminated cityscapes. Incorporate contrasting color temperatures to add depth and visual interest to your compositions. For instance, juxtaposing warm and cool light sources can create striking compositions that draw the viewer’s attention.
5. Long Exposure Noise Reduction

Long exposure noise reduction is a crucial technique in night photography settings, particularly when using long exposure times to capture the subtle details of low-light scenes. When photographing in dimly lit environments, the camera’s sensor may produce unwanted noise, resulting in grainy or speckled images. Long exposure noise reduction helps mitigate this issue by identifying and reducing noise during the exposure process. This technique works by capturing a second exposure with the camera’s shutter closed immediately after the initial long exposure. During this second exposure, the camera records only the noise present in the sensor, allowing it to create a noise profile. By subtracting this noise profile from the original image, long exposure noise reduction effectively minimizes noise while preserving image quality, resulting in cleaner, more visually appealing night photographs.
Mastering camera settings for night photography is essential to capture stunning images in low-light conditions. By adjusting your shutter speed, aperture, ISO, white balance, and utilizing long exposure noise reduction, you can achieve well-exposed and detailed photos. Remember to experiment with different settings and techniques to find what works best for your specific camera and the desired outcome of your night photography.
